How-To: Coil-Over Conversion
Story and photos by Matthew Eddy
Over the last year I have slowly been prepping my 91 Toyota
MR2 for NASA (National Auto Sports Association) Time Trials and eventually race
in the Performance Touring series. Last
summer I swapped in a 3.0L V6 and over the winter I have built and installed
what I am calling a coil-over conversion; converting the stock struts to coil-overs.
What may not be clear to all my readers is what coil-overs
are and what benefits they bestow over struts since they seem very similar. If you are purchasing a coil-overs,
especially good ones, you are pretty much guaranteed that the dampers and the
springs are going to be well matched.
Secondly, coil-overs allow for ride height and corner weight
adjustments. Also they have common
spring sizes so it would be easy to swap out springs to fine tune the
suspension for individual tracks or if you make other modifications.
Measure First
Before doing this conversion check and see how much clearance you have between the front wheels/tires and the strut housing. On the MR2, the front spring sits above the wheels and the strut housing is only 1/4" from the wheel. In most cases you will need to either get new wheels with a larger offset or wheel spacers. I installed 12mm spacers and new longer wheel studs. Replacing the wheel studs is pretty easy, especially if you have an impact. I have posted a video on youtube that shows how to do it
here. I bought both teh studs and spacers on ebay. To find the spacer search for "hubcentric MR2" and they are usually priced at about $60 pair. The wheels studs were $35 for 10pcs. Also, keep in mind that you will need to get new front end-links with this conversion because the bracket is being relocated. You can deal with this one of two ways; buy
Powergrid Endlinks which can be ordered at custom lengths (you will need 5.5" center to center), or cut and weld the stock ones but the stock ones are probably so old and rusty you are better off getting new ones anyways.
 |
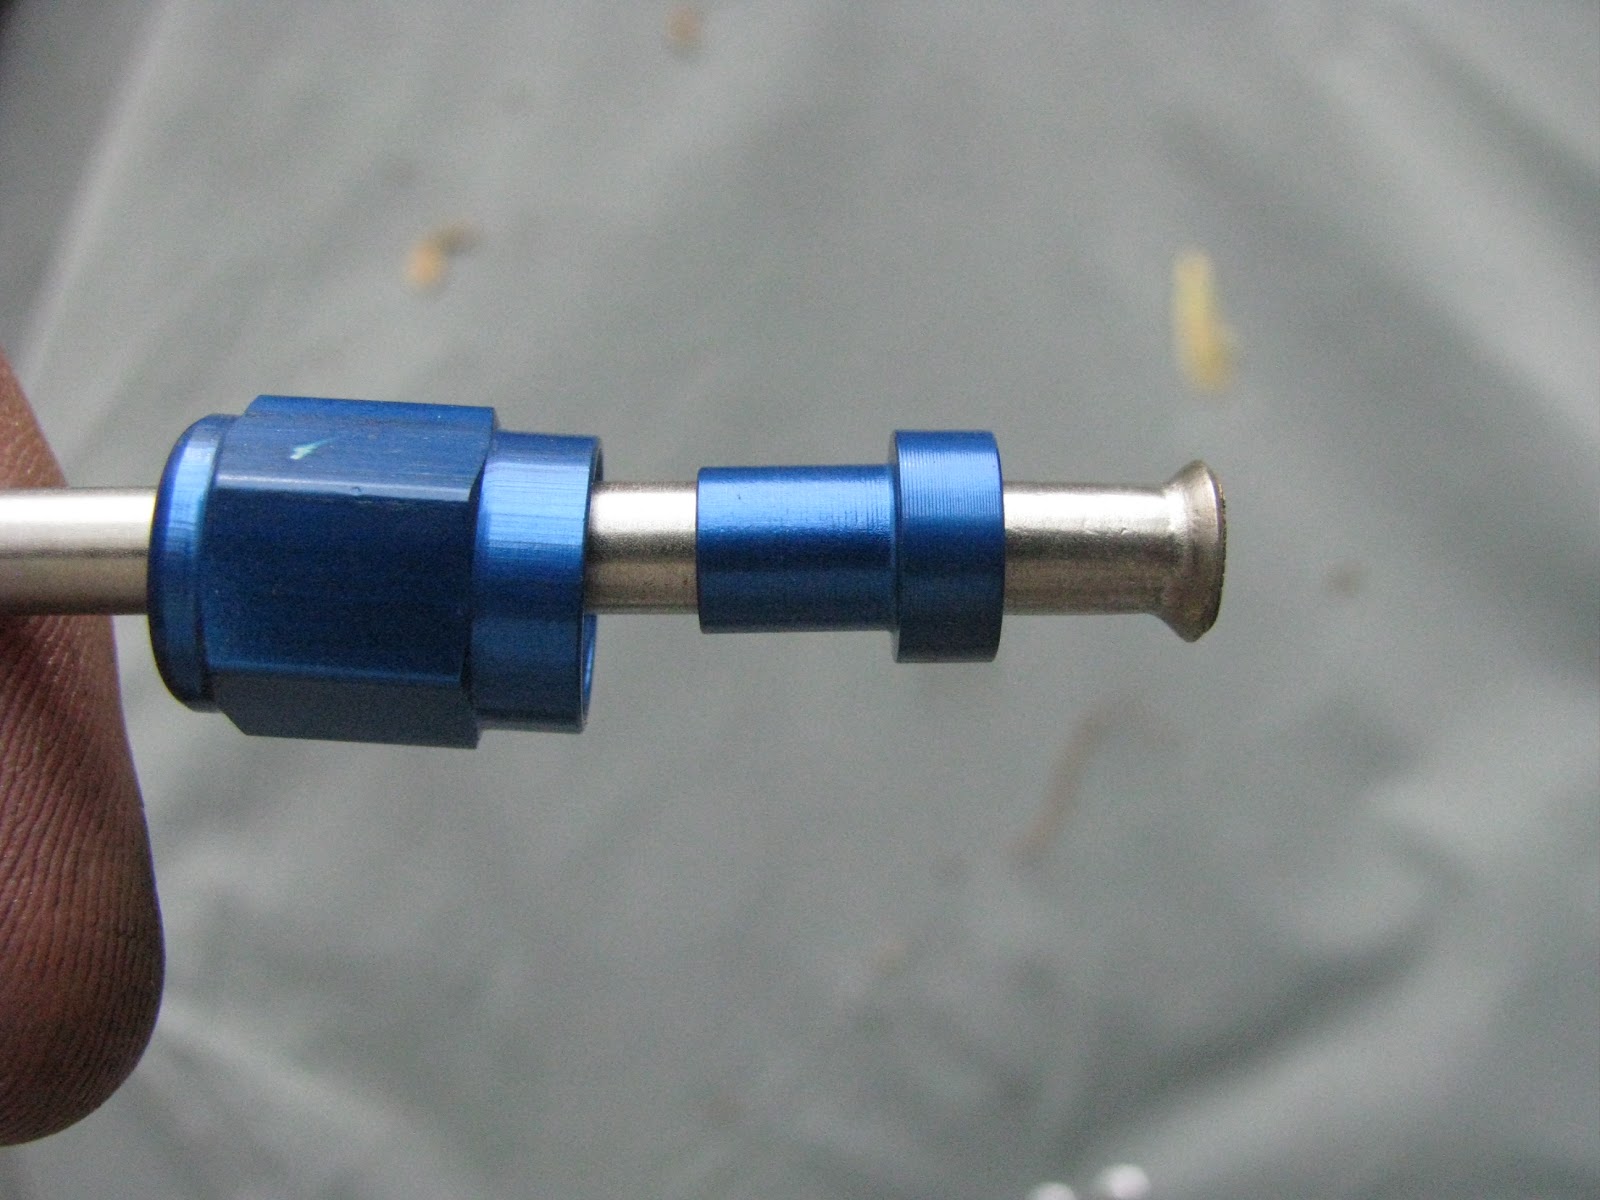
| Powergrid End links. It might be hard to believe, but these aren't new, they have been on my car for 2-3 years. |
Next, measure your current ride height for baseline for future adjustments after installing the coil-overs. Park the car on a level surface and measure from the ground, through the center of the wheel to the lip of the fender. Also measure from the center of the hub to the fender lip. If you have any fender damage or rust that might make these measurements unreliable pick another point to measure to. WRITE THIS DOWN, or at the very least, text message yourself. You will want this information later.
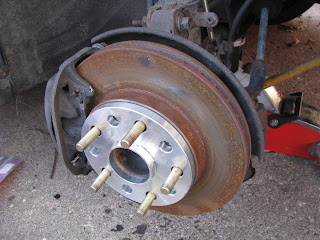 |
| New Studs and 12mm Spacer. |
Strut Preparation
The following write up is specific to the MKII MR2 but is still
applicable across many makes and models.
One major difference you may encounter is that many cars cannot take
strut cartridges. In the MR2, I can
remove the actual damper from the strut housing itself but I do not believe
this is a common feature. If you find
this is the case with your struts you have one of two options. Convert the strut to accept the coil-over
sleeve or convert the strut to accept cartridges. I will address this a bit more at the end of
the post since my suggestions will make more sense after you see what is
involved.
It might be a good idea to buy an old used set of struts to
work on that way if you mess them up some how or the project is more involved
than you anticipated you can take as much time as you need.
 |
| Strut Diagram - parts of the strut. |
 |
| Strut Diagram - Distances to measure |
See the diagram to the left as a reference for the terms I use for the various parts of the strut.
1. Disassemble the strut and remove the upper mount and spring. Second, take measurements. See my video posted on youtube that shows how to disassemble struts
HERE. Reference the diagram on the right.
2.Measure the overall length of the strut, the
length of the body, the distance from the end links bracket to the end of the strut
(if applicable) (G or F or both), the shock body diameter (A),
length of the strut rod (D), the diameter of the strut end (B), and distances to
other brackets you may have on the strut body. Also measure the length of the spring, and the thickness of the upper strut mount.
 |
| MR2 Struts in Before Being Disassembled. |
 |
| Disassembled Struts with Spring Perches |
3. Cut off the spring perches and grind the housing "smooth." For the MR2 front strut you will also need to cut off the sway bar end-link bracket.
3a (Optional) - To convert struts that don't usually take cartridges you can convert them to cartridges by drill a small hole near the bottom of the strut to relieve the pressure, then cut off the top of strut to remove the guts.
 |
| Disassembled Struts with Spring Perches Cut Off. |
 |
| Struts Close-up; Spring Perches Cut Off. You can see the gland nut just above the grounded down area. |
4. Put the strut housing into a vice and remove the gland nut with a monkey wrench.
 |
| Removing Gland Nut From Strut. |
5. For the front struts, weld the front sway bar bracket just above the knuckle bracket. Then weld a bead around the strut for the coil-over sleeves to sit on. For the rear struts, the sleeve will also sit on the sway bar bracket, and you should weld a bead around the strut at that location.
 |
| Weld a bead around the struts for the coil-over sleeve to sit on like this. |
6. Cut the bump stock bump stop in half. More than likely you will be lowering the car which means you will be decreasing the travel of the shock so cutting the bump stop in half will give you a little more travel.
7. (Optional) Sand blast and paint the strut housings. I would also suggest grinding off any sharp features. That will reduce the chances of the paint chipping or peeling. For instance there are little tabs on the knuckle bracket that should be ground down. After painting them, us caulk or silicon to fill in the gap around the top of the knuckle bracket. This will prevent water and debris from collecting there and causing corrosion in the future. I used a special caulk that is applied before powder coating (see the second picture below).
 |
| Stock Struts Sand Blasted. |
 |
| I Have Applied Caulk to the Above Area. |
Strut Assembly
I have compiled parts list with prices so you can have an idea of what you need and how much it will cost. I have not included the cost of the struts or dampers (aka shocks). For certain parts I have included links to where you can buy them.
Parts List:
 |
| Coil Over Parts - (Left to right) Gland Nut, Lock Nut, 1" Washer, Strut Cartridge, Strut Housing, Top Mount, o-ring (center of pic), Coilover Sleeve, lower Spring Perch, Upper Spring Perch, Spring. |
Springs – Fronts (Set of 2) (Eibach, 250# 8”):
$103 – bought as Edelbrocks on Summit Racing
Springs – Rear (Set of 2) (King, 400# 10”): $43 –
bought on ebay, used
O-rings (8 total): $4 (local hardware store)
18mm Washer (6): $2 (local hardware store)
1" Washer (2): $1.50 (local hardware store)
Light Weight Oil (engine oil, shock oil): $4 (local autoparts store)
Total: $334
Part List Notes:
Spring Rates: Not sure which spring rates to use? Check out my blog posting about choosing spring rates HERE. For my MR2 - which I drive to a from the track/autoX, I choose 250 in/lbs front, and 400 in/lbs for the
Coil-over Sleeves: I used 5" sleeves because I am using sway bars and that's probably as low as you can move the front sway bar bracket. I would not suggest going sway barless because there might be a time that you actually want a sway bar. Also you shouldn't need to get more than 5" of travel that I can think of. However, on the rears, you can move the sway bar bracket down 2" and get a 7" soil-over sleeve.
2.5" Coil Spring Tops: You will need to measure the diameter of the strut cylinder and the guy will customize the inner diameter for you. I would also suggest getting the parts powder coated to protect them from debris.
Assembly
1. Put (1) o-ring on the strut housing (about 2-3" from the top of strut housing)
2. Slide coil-over sleeve over o-ring. The sleeve should slide over the o-ring and be moderately tight. If the o-ring is just to thick, wrap the strut tower with electrical tape about 1" above the weld bead. The purpose of the o-ring or electrical tape is to remove play between the sleeve and the housing and prevent the sleeve from spinning when adjusting ride height.
3. Take a second o-ring and force it into the gap between the strut housing and sleeve from the top. See pic below.
 |
| Using a flat head screw driver to insert o-ring. Here the gland nut is already on, but its a lot easier to do this before installing gland nut. |
4. Screw the lower spring perch onto sleeve (can be done later).
5. Put the strut housing into a vice, and protect the paint with rags. Pour about 3oz of oil into the housing. The oil fills the gap between the cartridge and the strut housing to prevent heat building up in the shock. I prefer not to use tranny fluid or gear oil because of the smell. I used some engine oil because it was convenient.
6. Insert strut cartridge. Check oil level, and fill as necessary. You want the oil to be about .5-1" from the top.
7. Apply some anti-seize to the gland nut and screw it on. First by hand and then tighten with a monkey wrench.
8. Put spring on.
9. Put bump stop on the shock cylinder.
10. Put top spring perch on
11. Put (1) 1" washer on (FOR THE FRONT STRUTS ONLY). This is acting as a spacer so that the top spring perch contacts the bearing portion of the front strut mount. See below photos. I also added bearing greases here to prevent corrosion and wear. This section will be turning with the wheels. Though I have two pictures, each showing a washer, you only need to use one washer. The pictures below are just to demonstrate where the washer will sit.
 |
| Washer sitting on spring top. |
 |
| Where the washer will sit on the strut mount. |
12. Put the strut mount on.
13. Put (3) 18mm washers on (FRONT ONLY). The stock upper strut mount would usually sit under the mount and without it there is some play between the mount and the locking nut that holds this all together.
14. Screw on the locking nut on the end of the shock shaft. The hardest part about this is that the shock will want to spin. You best bet it to snug it up by holding the shaft with your fingers through the coil. Once it starts to spin you can try wrapping a piece of rubber around the shaft and grip it with vice grips. Get them as tight as you can. Don't worry, you won't be able to get it super tight, but it should be good enough.
When you are done they will look something like this.
 |
| Coil-over Conversion. Fronts for a MKII MR2 with 10" springs. I later switched to 8" springs. |
Here is a pic of them mounted in the car.
 |
| Front Coil-overs mounted on the cars. |
For struts without gland nuts you can weld on the strut without removing the inner shock but take a few precautions such as welding in short durations. Do not weld weld near the valves (toward the top or bottom of the strut). But the better option will be to cut off the top of the strut, remove the damper and then weld a threaded collar that will allow you to swap out strut cartridges. You will probably have to do some research and find a cartridge that is the proper diameter and length to fit.
Adjusting Ride Height
When I installed mine I moved the lower spring perch up to hold the spring against the top mount, then mounted the coil-overs on the car. Measure the ride height from the ground to the fender as described above. Remember to do this on a level surface! If, by magic or math you got the ride height perfect on the first go then make sure everything is tightened up and take it for a test drive. If you want to make adjustments then jack up the car, remove the wheel and measure the distance from the lower spring perch to some point on the strut. Then adjust the position of the lower spring perch to change the ride height. Below you can see how I measured using a metric measuring tape. I find metric to be much easier than figuring out what fraction of an inch I was looking at. I was using the knuckle bracket as my reference point. In this cse I was at 73mm. I wanted to reduce my ride height by 1". 25mm = 1" so to lower the car 1" I need to moved the lower spring perch down until I measure 48mm.
 |
| Measuring the Distance of Lower Spring Perch to Reference Point on Coil-Over. |
Sure enough, I dropped the car and I was at exactly where I wanted to be.
If you have questions, please feel free to ask them in the comment section below.
Fine Print: You are responsible for your own safety and modifications to you car. I am not responsible for any damage, injury or death that may result. Follow these steps at your own risk and if you aren't sure you are doing something safely then don't do it. Always use proper safety equipment. Modifying or changing existing products on your car is risky and not suggested by the manufacturer so any damage, injury or death is your own responsibility. Do not attempt if you don't feel you can accomplish this safely. Make sure to check all the bolts are tightened properly and test the car before driving it.